What adding a second monitor changes on Windows
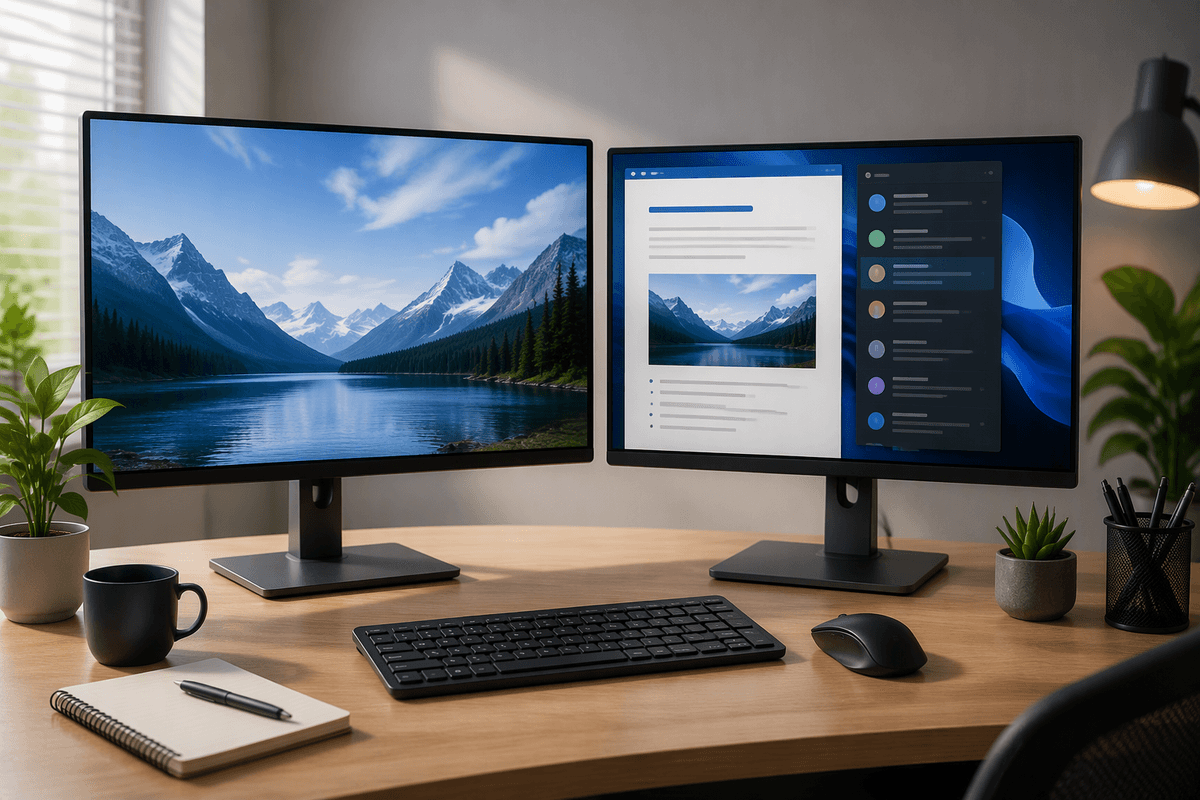
You notice the difference immediately: windows stop piling up on top of each other. With a second monitor, you can keep email or a reference doc open on one screen while you work on the other, or park a Zoom call off to the side without covering what you’re doing. Windows treats each display as its own “canvas,” so you decide whether your desktop stretches across both (Extend) or shows the same thing on each (Duplicate) for presentations. The trade-off is a bit more setup time—arranging the screens, choosing a primary display, and sometimes adjusting scaling so text doesn’t look tiny or oddly sized.
Check your PC’s video ports before buying anything
The most common reason a “simple” second monitor setup turns into a return is that the PC and the monitor don’t share a matching port. Before you buy anything, look at the back or side of your desktop, laptop, or dock and note what you actually have: HDMI, DisplayPort, USB-C (sometimes with a lightning bolt for Thunderbolt), or older VGA/DVI. Then check the monitor’s inputs too—many office monitors have HDMI and DisplayPort, while some budget models might only offer HDMI.
Don’t assume every USB-C port can run a display. Some are data-only, and some laptops can output video on USB-C but only when using a specific port. If you’re using a dock, check its ports as well and remember it can add limits (for example, capping resolution or refresh rate), especially on cheaper USB docks. Taking two minutes to confirm ports saves you from buying the wrong cable, a flaky adapter, or a monitor you can’t fully use.
Pick the right cable or adapter for your setup
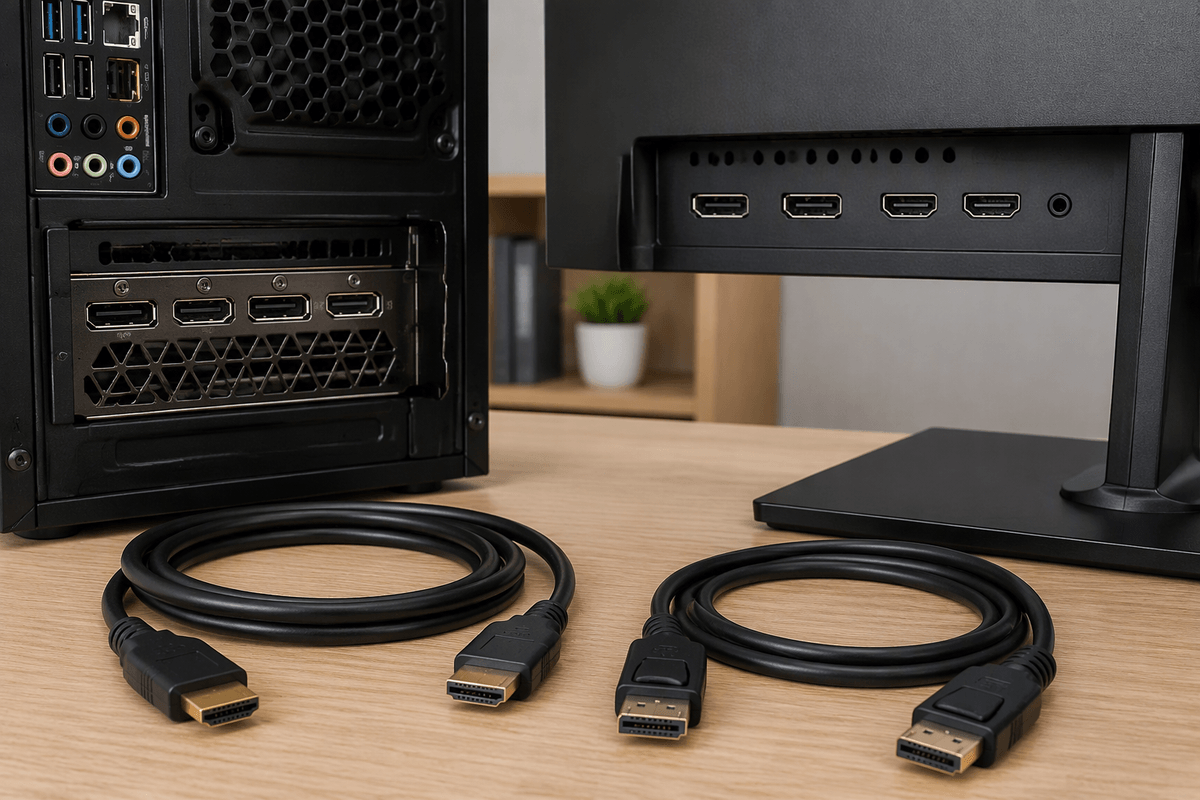
You’ll usually get the best results by matching ports directly: HDMI-to-HDMI or DisplayPort-to-DisplayPort is simplest and avoids weird limits. Use a decent, properly rated cable—cheap no-name cables are a common cause of flickering, random black screens, or being stuck at a lower resolution or refresh rate than the monitor supports. If your PC has both HDMI and DisplayPort, DisplayPort is often the safer pick for high refresh rates and higher resolutions, but either can be excellent when the cable is right.
If you need an adapter, choose it based on direction and purpose. USB-C to HDMI/DisplayPort must support “DisplayPort Alt Mode” (or Thunderbolt) on the PC side; otherwise it won’t output video at all. Adapters also have real caps (for example, 4K at 30Hz instead of 60Hz), so check the adapter specs for your target resolution and refresh rate. Avoid VGA unless you’re connecting to an older projector—analog video can look soft and won’t carry audio.
Connect the monitor and confirm Windows detects it
With the cable picked, plug the monitor into power, connect the video cable to the PC (or dock) and the monitor, then turn the monitor on and select the correct input (HDMI 1, DisplayPort, etc.). Many “no signal” moments are just the monitor listening on the wrong input. If you’re using USB-C, plug into the exact USB-C port on the laptop that supports video—some ports are data-only.
On Windows, right-click the desktop and open Display settings. Under the diagram at the top, you should see two screens (or a Detect button if Windows isn’t sure). Click Detect if needed, then confirm the new display appears and isn’t set to a weird resolution or refresh rate. If nothing shows up, reseat both ends of the cable, try a different port on the PC/monitor, and remember docks and adapters can limit what Windows can see until the right driver or firmware is installed.
Choose extend vs duplicate and set your screen layout
Once Windows shows two displays, decide what you want them to do. Press Windows+P to switch quickly: choose Extend for day-to-day work (your desktop spreads across both screens) or Duplicate when you need the same image on both, like presenting on a projector or sharing your screen in a meeting. If Duplicate looks “zoomed” or fuzzy, that’s usually because the two screens have different native resolutions; Extend avoids most of that.
In Display settings, click Identify so the big numbers appear on each screen, then drag the rectangles to match how your monitors sit on your desk (left/right, or one slightly higher). This matters: if the layout is wrong, your mouse will “hit a wall” or jump in a way that feels broken. Pick the screen you want as your main workspace, then check “Make this my main display” so the taskbar and sign-in prompts land where you expect. Finally, set each display to its Recommended resolution and a sensible refresh rate; higher refresh can feel smoother, but it may be limited by your dock, adapter, or cable.
Fix common issues: no signal, wrong size, blurry text
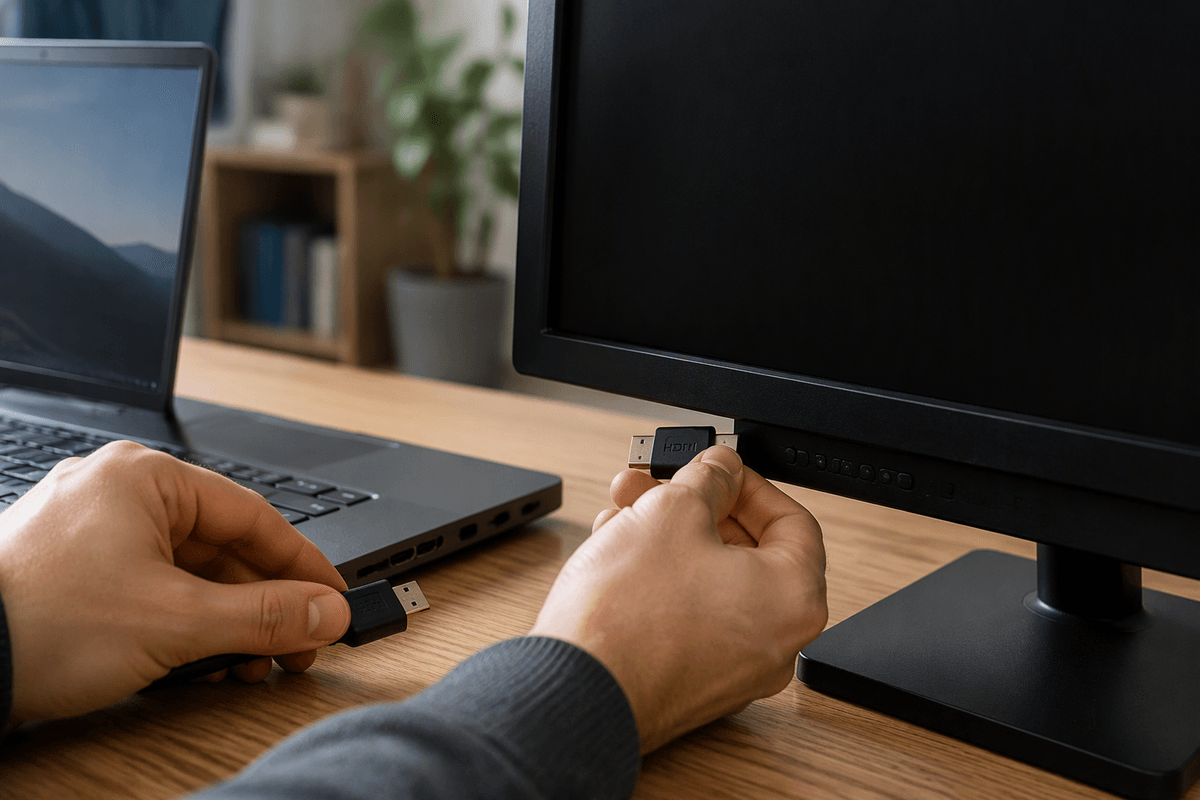
If the monitor says “No signal,” start with the boring checks that fix most cases: confirm the monitor is on the right input (HDMI 1 vs HDMI 2), then unplug and reseat the cable on both ends. If you’re on a dock or adapter, try connecting the monitor directly to the PC once to rule out a dock limitation. Swapping to a different port (HDMI instead of DisplayPort, or another USB-C port) is also worth it, since some laptop USB-C ports are data-only. A quick reboot can help after plugging in a new display, and Windows+P can force you back to Extend if you accidentally set “PC screen only.”
If the picture is the wrong size, go to Display settings, select the problem screen, and set Resolution to Recommended and Refresh rate to something your cable/adapter can actually handle. Blurry text is usually a scaling mismatch: set Scale to the Recommended value per display, then sign out and back in if Windows prompts you. Cheap adapters and older HDMI cables are a real constraint here—they can quietly cap you at lower refresh rates or cause softness/flicker, and replacing them is sometimes the simplest “fix.”
Make it comfortable: scaling, snapping, and shortcuts
You’ll feel the setup is “right” when text is easy to read and windows land where you expect. In Display settings, select each monitor and adjust Scale per screen (125% on a laptop panel and 100% on a bigger external monitor is common). Keep Resolution at Recommended for each display; changing resolution to “make things bigger” usually makes them softer. If apps look slightly blurry after scaling changes, sign out and back in, and check whether the app has its own zoom setting (browsers and Office often do).
Then make the extra space work for you. Use Windows+Left/Right to snap a window to half a screen, then Windows+Up to make it a corner; in Windows 11, hover the maximize button for snap layouts. Windows+Shift+Left/Right moves the active window to the other monitor instantly. If your cursor “catches” at the edge between screens, go back to the display layout diagram and nudge the monitor positions until the edges line up—small misalignments can be surprisingly annoying.
A quick checklist to finish and keep it working
Before you call it done, run a quick sanity check. Confirm each monitor is on the correct input, then open Display settings and verify both screens appear, each set to its Recommended resolution and a refresh rate your cable/dock can sustain. Set your main display so the taskbar and sign-in screen land where you want, and drag the display boxes until the mouse moves across screens without “hitting” an invisible edge. If text looks off, adjust Scale per monitor (not resolution), then sign out/in if prompted. Keep one known-good cable handy—adapters and cheap cables are the most common long-term failure point.