Why Guided Access solves “one app only” moments
You’ve probably handed your iPhone to a kid for a video, a student for a quiz, or a customer to sign something—then watched them accidentally swipe out, tap a notification, or end up in Settings. Guided Access fixes that “one app only” moment by temporarily locking the phone into a single app and limiting what parts of the screen, buttons, and gestures still work. It’s built into iOS, so there’s nothing to install and no account setup to manage.
The practical win is control without drama: you choose the app, start a session, and the phone stays put until you end it. It’s not a full parental-control system, and it won’t stop everything (like incoming calls unless you configure options), but for short, supervised hand-offs it’s the simplest way to prevent costly mis-taps and surprise exits.
Check your goal: focus, kid-proofing, or a mini kiosk
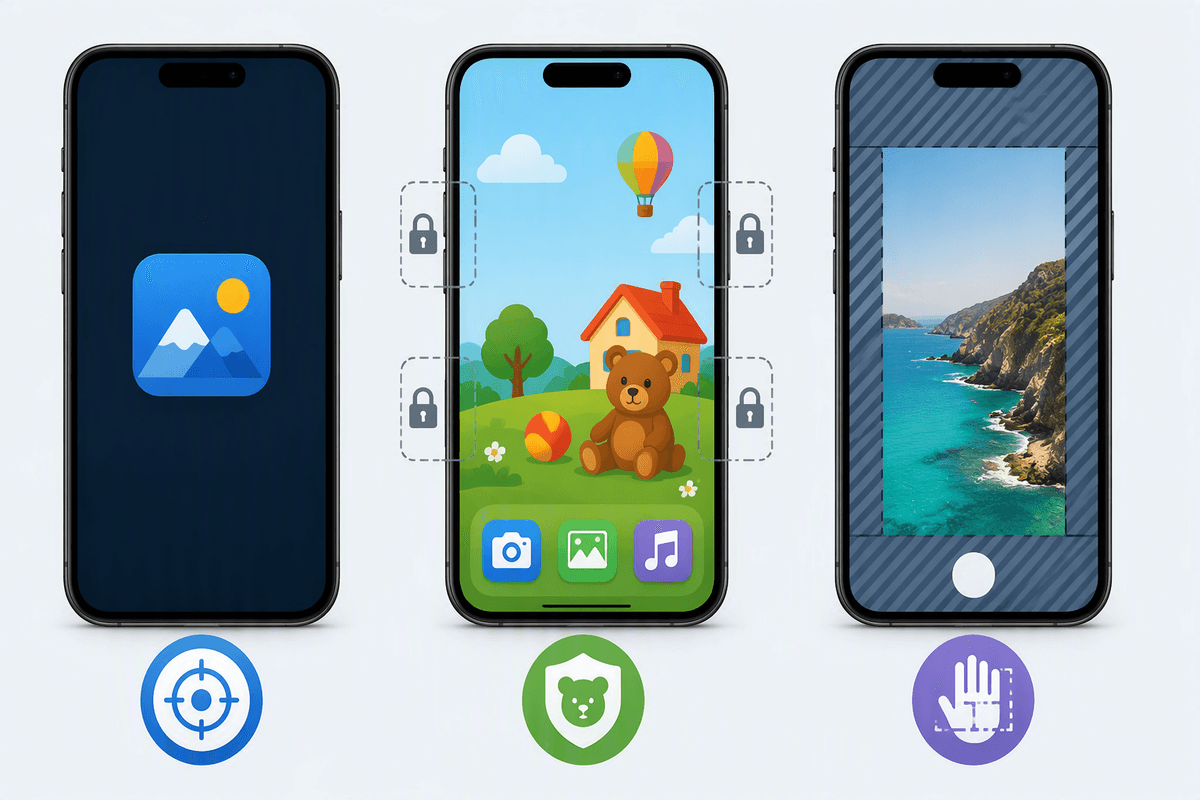
The quickest way to set Guided Access up well is to decide what kind of hand-off you’re dealing with. If it’s just for your own focus—reading, writing, or timing a workout—you mostly care about preventing app switching and accidental swipes. You can usually leave Touch on and just block the side button so you don’t lock the screen mid-task.
If it’s kid-proofing, assume random tapping. Plan to disable hardware buttons (Side/Volume), lock rotation, and consider turning off Touch or limiting it to certain areas if the app allows it. For a mini kiosk—sign-ins, menus, forms—the goal is consistency: keep the app fixed, prevent Control Center/notifications from stealing attention, and block any “back” or “settings” corners inside the app. The trade-off is convenience: the tighter you lock it down, the more annoying it can be to adjust things quickly mid-use.
Turn on Guided Access and choose an exit method
Most people only find Guided Access when they need it fast. Set it up once: open the Settings app, go to Accessibility, then Guided Access, and switch it on. Tap Passcode Settings to choose how you’ll end sessions. A passcode works fine for shared phones, while Face ID or Touch ID is faster when it’s just you handing your phone back and forth.
Pick an exit method you’ll actually remember under pressure. If you set a new passcode here, don’t make it the same as your phone unlock code if others might watch you enter it. If you rely on Face ID, remember it can fail when the phone is angled away or a child’s face fills the camera—so keep a passcode as backup. Before you leave Settings, turn on the Accessibility Shortcut so the triple-click (or side button shortcut) can start and end sessions without hunting through menus.
Start a session fast, then lock down the right controls
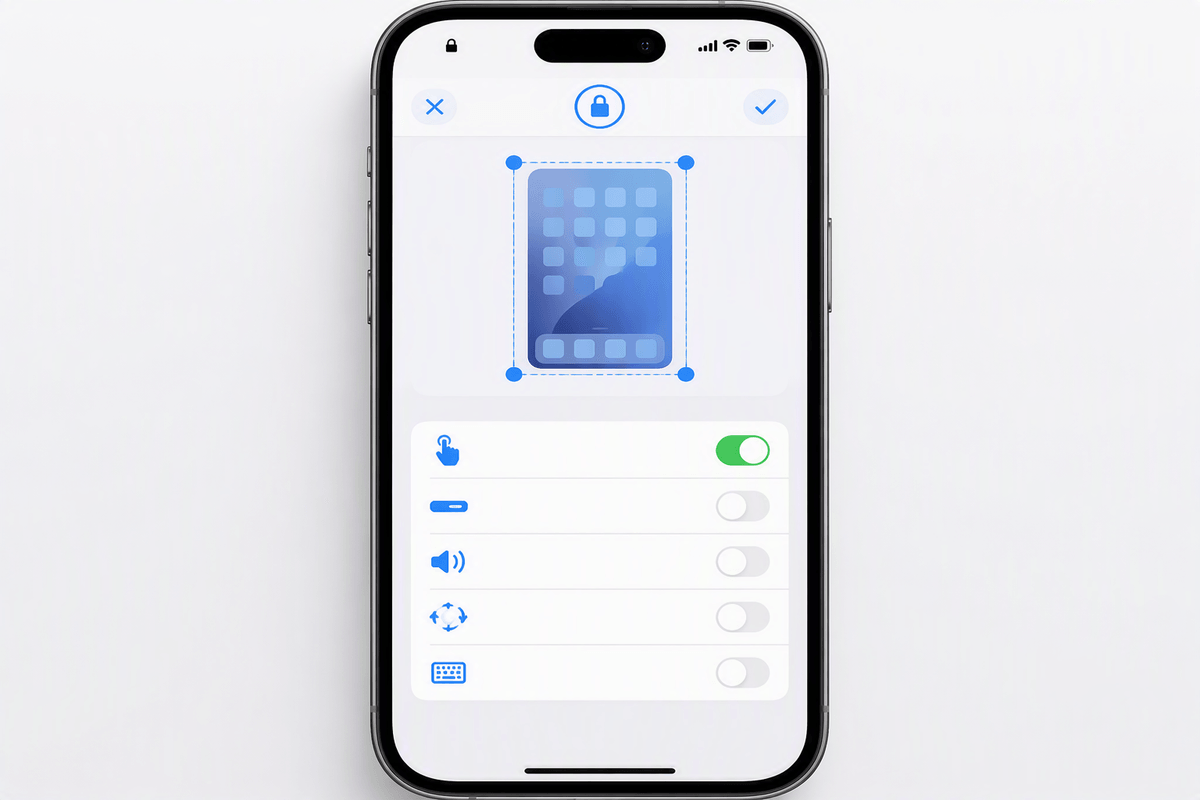
You’ll usually start Guided Access from inside the app you want to keep on-screen. Open the app, then triple-click the Side button (or Home button on older iPhones). If the Guided Access screen doesn’t appear, go back to Settings > Accessibility and confirm the Accessibility Shortcut is enabled and set to Guided Access.
Before you tap Start, take 20 seconds to lock down the controls that cause the most trouble in real hand-offs. Tap Options and switch off Side Button and Volume Buttons so the screen can’t lock, screenshot, or blast audio. Turn off Motion if tilting or shaking triggers changes, and consider Keyboard off if you don’t want random typing into search bars or fields. Leave Touch on for most videos and simple apps, but turn it off for “look, don’t poke” situations. The tighter you set this, the more you’ll need to end the session to adjust anything mid-use.
Use screen areas to block taps on specific spots
The most underrated Guided Access feature is drawing “no-touch” zones on the screen. On the Guided Access setup screen (before you tap Start), use your finger to circle or box the parts you don’t want tapped—then adjust the handles so the blocked area fits. This is perfect for apps with a tiny X, a gear icon, a back arrow, or an ad banner that keeps getting hit. You can also block the search field in YouTube or a settings corner in a classroom app while still letting the main content work normally.
Plan on a little trial and error. Some buttons only respond when the screen scrolls, and blocked areas don’t automatically move with the page, so you may need to block a larger strip (like the whole top bar) to keep it reliable. If the app changes layout in landscape, lock rotation or redraw the areas in the orientation you’ll actually use.
Real-life setups: kids, YouTube, classroom, and point-of-sale
A kid watching videos is the classic use: open YouTube (or the streaming app), start Guided Access, then block the search bar, profile icon, and any “back” corner that leads to recommendations. Turn off Side Button and Volume Buttons so they can’t lock the screen or spike the sound, and consider a time limit if you want it to end automatically when the hand-off is over. The catch is ads and layout changes—if an ad places a close button somewhere new, you may need to end the session and redraw the blocked area.
For classrooms, aim for “simple and repeatable.” Lock the iPhone into the quiz/reading app, disable Keyboard unless students truly need typing, and block navigation tabs that jump to other sections or settings. If you’re passing one device around, keep Touch on but block only the dangerous spots; turning Touch fully off can confuse students who need to scroll or tap answers. For a point-of-sale or sign-in form, treat it like a mini kiosk: block Control Center/notifications by keeping the session tight, disable Motion, and block any in-app “cancel” or “settings” links. Budget extra setup time for every app update—small UI changes can break a carefully drawn no-touch zone.
Troubleshooting and best habits for stress-free use
The most common failure is the shortcut not working: go to Settings > Accessibility > Guided Access and confirm it’s on, then check Accessibility Shortcut is set to Guided Access (triple-click should bring it up). If you can’t end a session, hold the Side button and a Volume button to bring up the power screen, then try Face ID/passcode again—keep a passcode backup even if you prefer Face ID.
For smoother hand-offs, create one “default” setup per app: start a session, tune Options and blocked areas, then end it—iOS remembers your last Guided Access settings for that app. Expect maintenance: app updates can move buttons, and ads can put close icons in new spots, so plan a quick re-check before you hand the phone over in a high-stakes moment.