What “preserving” a vintage device really means
Preserving a vintage device usually means slowing the kinds of damage that happen quietly: moisture-driven corrosion, heat-baked plastics and adhesives, UV fading, and residue that turns conductive over time. It also means avoiding “helpful” actions that create new problems, like aggressive polishing that removes labeling, or powering up unknown gear and letting a failing capacitor or shorted rectifier take other parts with it.
A good preservation mindset is light-touch and reversible. You stabilize first, then decide what to restore. That can feel slower than a full teardown, and it often costs more up front in proper storage boxes, desiccant, and test gear, but it prevents the expensive, irreversible mistakes.
Start with a careful assessment before any cleaning
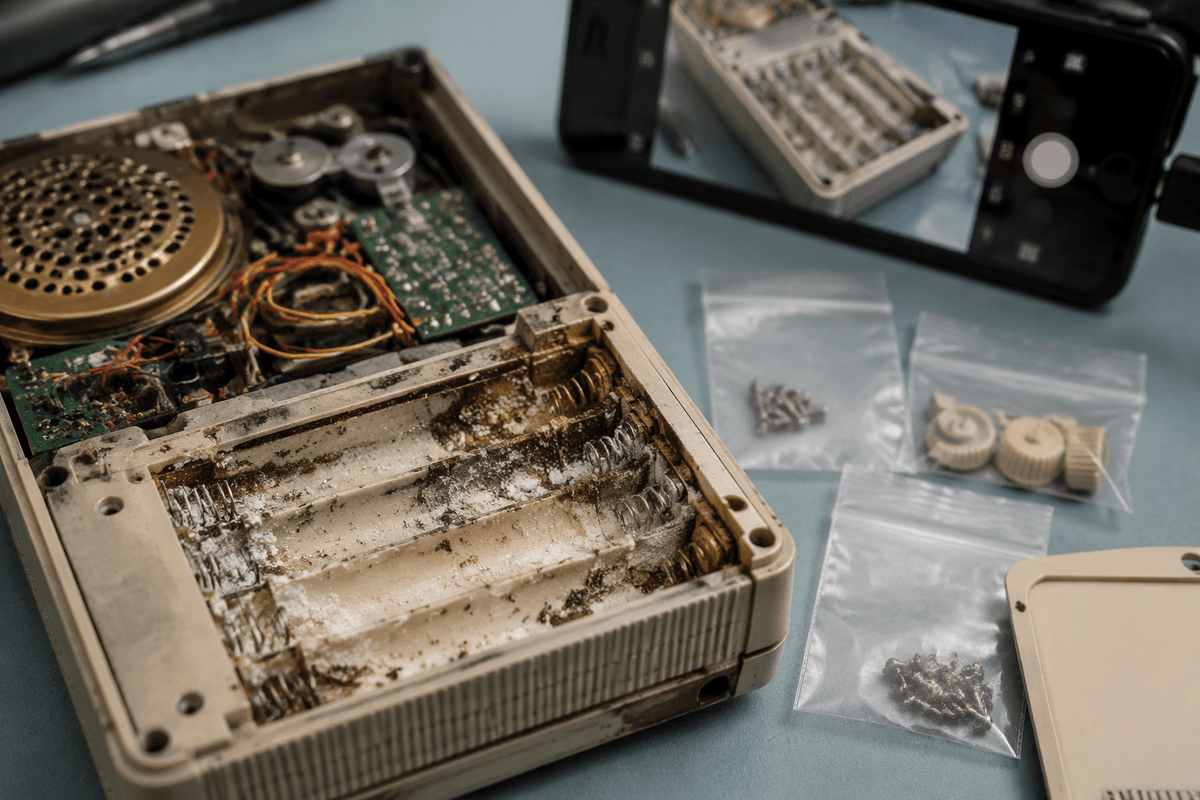
The first real test is restraint. Before you wipe anything, look for clues about what you’re dealing with: sticky residue around vents (old smoke, soda, or capacitor leakage), white or green fuzz on metal (corrosion), swollen electrolytic capacitors, and any crust around battery doors or compartments. Smell matters too—sharp “fishy” odor can point to failing caps, and a musty smell often means it lived in damp storage.
Take photos from all sides and inside if it opens easily, then label bags for screws and knobs as you go. Check what’s fragile: decals, silk-screened lettering, rubber feet, and foam pads that can crumble when touched. If you see active battery leakage or powdery corrosion, avoid brushing it into the case or onto a circuit board. That’s one of the few times pausing to isolate the device and plan cleanup can prevent the mess from spreading.
Control the storage environment: heat, humidity, and light
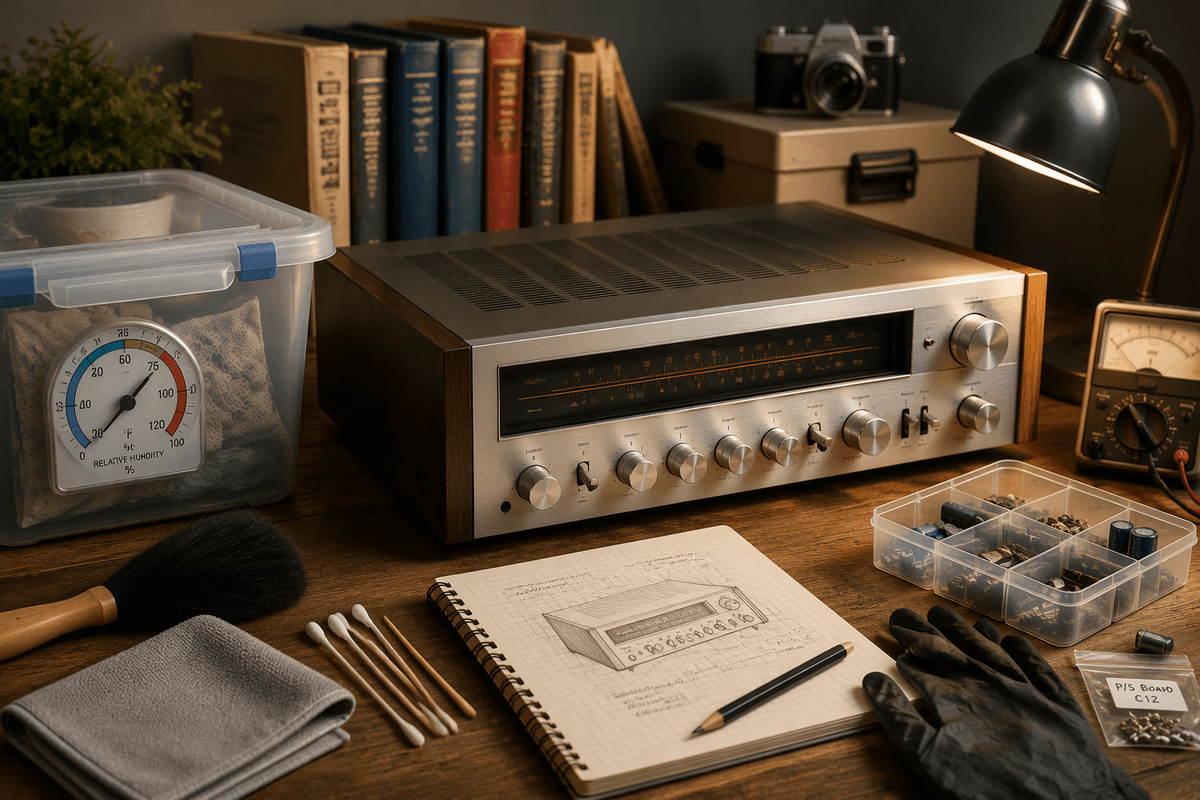
A lot of long-term damage comes from storage that swings between damp and dry, hot and cool. Aim for a stable, “comfortable for people” room: roughly 60–75°F and about 35–50% relative humidity. Basements, attics, garages, and sheds are the usual problem spots because they cycle through condensation and heat soak, which drives corrosion on connectors and switch contacts and can warp plastics and old adhesives. A cheap hygrometer in the storage area is more useful than guessing, and sealed totes with fresh desiccant can buy you safety when you can’t control the whole room.
Light matters too. UV fades labels, yellows plastics, and weakens some rubbers, so store gear out of direct sun and avoid display shelves near bright windows. One practical constraint is airflow: fully airtight bags can trap moisture if the device wasn’t truly dry, so use breathable covers for display pieces and reserve sealed containers for known-dry items with desiccant you can replace on a schedule.
Clean without erasing labels, finishes, or patina
You’ve probably seen a “cleaned” unit that looks newer but is less original: softened lettering, hazy windows, or a shiny patch where the texture used to be. Start with the least aggressive approach. A soft brush and a vacuum held nearby (not dragged across the surface) lifts grit that would otherwise scratch. For most exterior plastics and painted metal, a barely damp microfiber with a drop of mild dish soap in water is safer than sprays; put liquid on the cloth, not the device, and keep it away from seams, vents, and paper labels.
Test any cleaner on a hidden spot first, because silk-screen ink and older clear coats can dissolve fast. Skip alcohol, ammonia, and “magic eraser” abrasives on printed legends and smoked display windows. For grime in crevices, use cotton swabs, wooden toothpicks, and patience. Patina is often stable oxidation and gentle wear; removing it can expose raw metal that re-corroded faster, and replacing missing labels later is usually harder than living with honest age.
Power-up decisions: when to test, recap, or reform
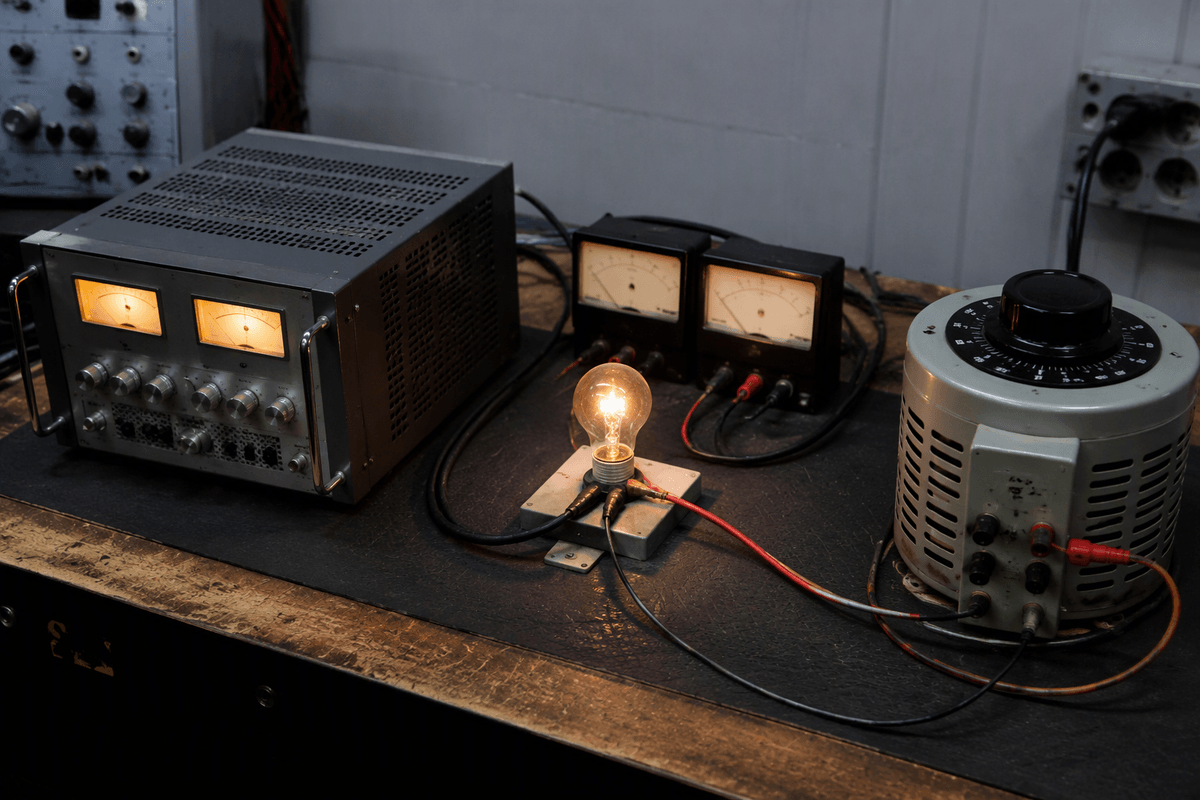
You’re usually tempted to “just see if it works,” but an unknown power-up is where small age problems become expensive failures. If the device’s history is unclear, assume electrolytic capacitors and rectifiers are suspect until proven otherwise. Start with a no-power inspection: correct fuse value, no burned smell, no loose metal bits, no swollen caps, and no obvious shorts or corrosion around the power path. If it passes that, the safest first test is controlled power—ideally a current-limited bench supply for low-voltage gear, or a dim-bulb tester/variac for AC equipment—watching for rising current, heat, or hum before you ever connect speakers, rare peripherals, or a good CRT.
“Reforming” can be reasonable for some older electrolytics that have simply sat unused, but it’s not a cure-all, and it takes time and monitoring. Recapping makes sense when the unit is valuable, runs hot, uses known-problem capacitor series, or shows symptoms like ripple hum, unstable video, or random resets. The practical constraint is skill and tools: rushed soldering, lifted pads, and wrong polarity can do more harm than leaving a stable device alone, so it’s fine to stop at controlled testing and hand off the recap to someone experienced.
Deal with batteries, rubber, and other time-bombs
Batteries are the fastest way a “stored safely” device gets ruined. Treat any battery compartment as guilty until proven clean: remove cells immediately, even if they look fine, and don’t assume a sealed pack is safe just because it still holds charge. If you find crusty white/green buildup, isolate the unit and avoid shaking or scraping it into the case. A light mechanical lift with a wooden stick and careful swabbing is safer than aggressive brushing, and badly eaten contacts are a good moment to pause and hand it to a repairer before traces or wiring get damaged.
Rubber and foam are the slow time-bombs. Belts turn to tar, pinch rollers glaze, and speaker surrounds can rot even in good storage. Keep pressure off rubber parts during storage (don’t leave cassette decks engaged), and don’t “test” a transport repeatedly if it slips—melted belt goo spreads fast. Old adhesive pads and foam light seals can also off-gas and leave conductive residue, so store gear so it can breathe, and plan on periodic inspection rather than waiting for a failure.
Document, label, and source parts without guesswork
You’ll thank yourself later for treating documentation as part of preservation, not admin. Keep a dated photo set for each device (outside, inside, close-ups of connectors, jumpers, and any corrosion), then add a simple note of what you changed and what you didn’t. When you remove parts, label them by location, not just “left” or “right”: tape flags like “P/S board C12” and bag hardware with a paper slip inside the bag so the ink can’t rub off.
For parts sourcing, avoid “looks about right” replacements. Read the markings, measure if you can, and cross-check against a service manual or board silkscreen before ordering. The constraint is time: verifying one capacitor’s value and lead spacing is slower than bulk-buying, but it prevents wrong-voltage parts, mismatched belts, and connectors that stress brittle plastics when you force-fit them.
A sustainable preservation routine you can actually keep up
What keeps a collection healthy is a small routine you’ll actually repeat. Put a reminder on the calendar every 3–6 months to glance at hygrometer readings, swap or recharge desiccant, and do a quick sniff-and-look for mustiness, new haze on metal, or any battery swelling. Once a year, open the “riskier” pieces (battery-backed, belt-driven, or high-heat) and check for fresh leakage, softened rubber, or capacitor bulging before it becomes a board-cleaning project.
Keep one tote of “safe supplies” (microfiber, soft brush, cotton swabs, nitrile gloves, labels) so you don’t improvise with harsh cleaners. The limitation is time and space: if you can’t inspect everything, prioritize the rarest and the most failure-prone, and pay a pro when corrosion has reached traces or connectors.