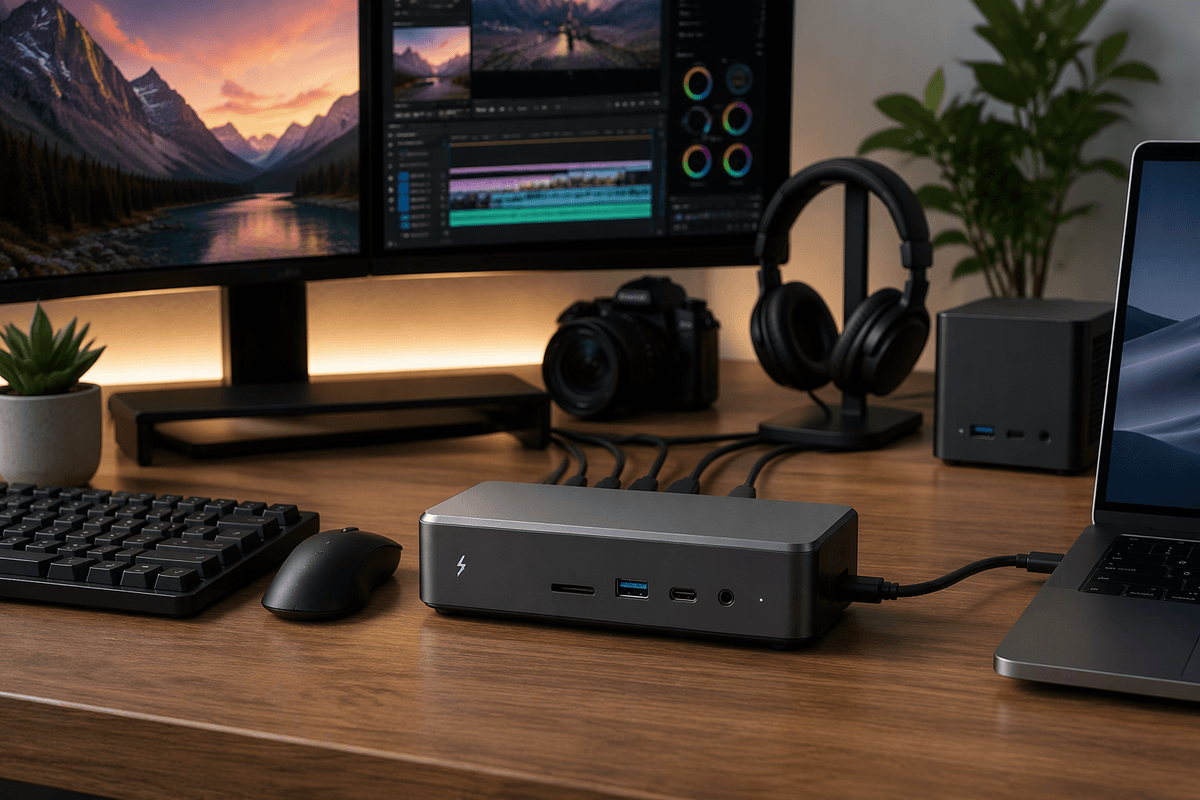
Thunderbolt docks aren’t just for laptop owners
It’s easy to file Thunderbolt docks under “laptop accessories,” because the marketing usually shows someone plugging a notebook into a single cable and calling it a day. But the same idea can clean up a fixed desk, especially when your desktop, mini PC, or all-in-one has limited front-access ports, awkward rear I/O placement, or only one high-speed port that you don’t want to keep reaching for.
A Thunderbolt dock can also do things many basic USB-C hubs can’t do reliably: push multiple high-resolution displays depending on your host’s display support, keep fast external SSDs running near their rated speeds, and provide steadier wired networking and audio I/O in one spot. The catch is cost and compatibility—your device needs true Thunderbolt (or the right flavor of USB4 with display features enabled), and not every USB-C port will deliver the same results.
When a desktop needs “one cable” convenience too
On a desktop, “one cable” convenience isn’t about mobility so much as friction. If your tower lives under a desk or your mini PC is VESA-mounted behind a monitor, plugging in a card reader, an audio interface, an external SSD, and Ethernet can mean crawling around the back panel and fighting short cables. A dock relocates that mess to the edge of the desk, so the ports you actually touch are in reach and the permanent wiring stays put.
It also helps when you share a workstation. One Thunderbolt cable can move your keyboard, mouse, webcam, network, and storage between a work laptop and a home desktop-class mini PC without replugging five things every time. The desktops don’t magically gain features: you still need a Thunderbolt/USB4 port that supports the displays and bandwidth you expect, and some desktops may require add-in cards or BIOS settings to make it work.
Mini PCs and small form factor builds: ports run out fast
Mini PCs and small form factor builds hit a predictable wall: you can spec plenty of CPU and GPU for the money, but I/O gets tight fast. Two rear USB-A ports disappear to a keyboard and a webcam, the front port becomes a “temporary” SSD slot, and suddenly you’re choosing between Ethernet and a capture card because you’ve already burned the only fast USB-C port. Even when the port count looks fine on paper, the layout often isn’t—VESA-mounted boxes and compact cases push everything to the back, so routine plug-ins turn into a reach-around exercise.
A Thunderbolt dock is a clean way to add higher-quality ports without turning your desk into a hub daisy-chain. You get more downstream USB, reliable gigabit (or better) networking, and a place to park fast external storage that doesn’t collapse to USB 2.0 speeds when you connect “one more thing.” The compact systems sometimes share bandwidth aggressively, and not every USB-C port on a mini PC is Thunderbolt/USB4 with full display support, so you need to verify the host port before you buy.
Turning a dock into a monitor-and-peripheral switcher
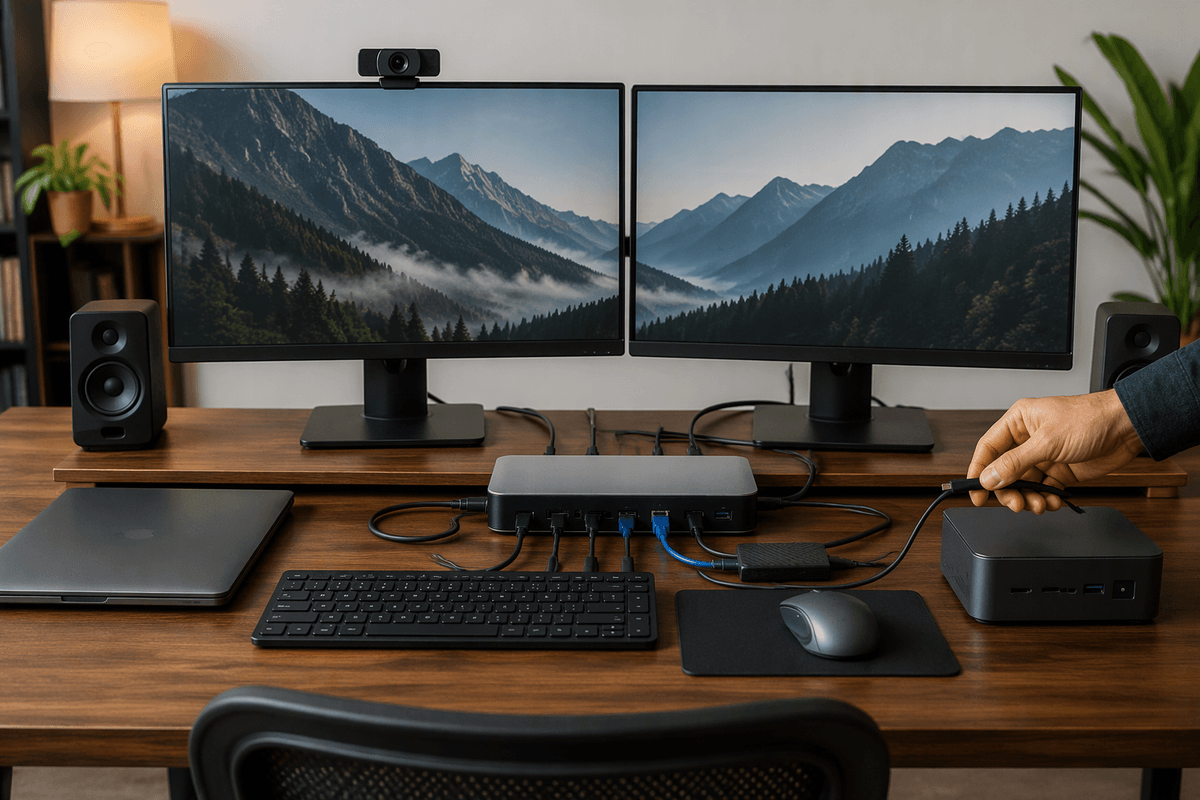
A familiar pain point is switching between two computers that share the same desk: a work laptop during the day, then a mini PC or desktop after hours. Without a plan, you end up swapping a monitor cable, moving a USB receiver, re-pairing Bluetooth, and hoping the webcam shows up in the right app. A Thunderbolt dock can act like a “station” that keeps the monitor(s), Ethernet, speakers, keyboard, mouse, and external drives permanently connected, while you move only the single host cable between machines.
The dock can only switch what runs through it. If your monitor is connected directly to a desktop GPU via HDMI/DisplayPort, the dock can’t magically take over that display without you changing the monitor input or rewiring. In practice, the cleanest setup is to run your display(s) into the dock, then confirm both computers support video over their Thunderbolt/USB4 port in the way you need (resolution, refresh rate, HDR). Also plan for small annoyances: some docks take a few seconds to enumerate USB devices, and bus-powered drives may disconnect briefly when you swap hosts.
Creative workflows: faster storage and cleaner audio setups
If you edit photos or video, the difference between “a hub” and a real Thunderbolt dock shows up as soon as you lean on external storage. A good Thunderbolt dock can keep a fast NVMe SSD enclosure much closer to its rated speeds while you’re scrubbing a timeline, building previews, or bouncing between a project drive and a cache/scratch drive. With many USB-C hubs, the same workload quietly bottlenecks once the hub’s USB controller, shared bandwidth, or power delivery gets crowded by a display and a couple of peripherals.
Audio is the other underrated win. A dock gives you a consistent place for wired headphones, powered speakers, and an audio interface without stacking cheap USB adapters that can introduce noise or flaky device detection. The practical constraint is that not all docks have clean analog output, and some interfaces are picky about shared USB buses—so you may still want the interface on a dedicated downstream port, and you should budget for better cables and a powered dock rather than trying to run everything bus-powered.
One dock, many devices: tablets, handhelds, and eGPU setups
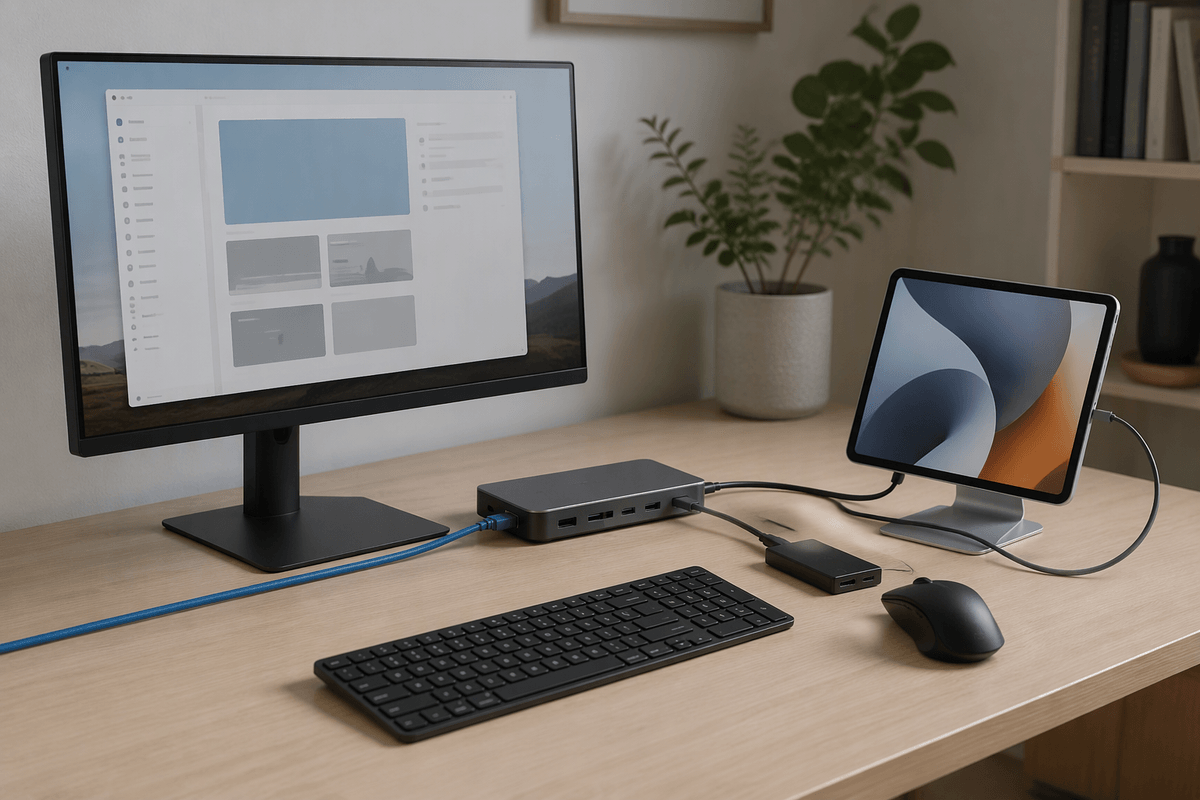
The “shared dock” idea gets more interesting once you add non-laptops. Some tablets with USB-C/USB4 can drive an external display, Ethernet, and a few USB devices through a dock, which turns a casual couch device into a usable desk setup for email, docs, and light editing. You might get one external display at a capped refresh rate, certain USB audio devices may not expose full controls, and power behavior can be inconsistent (some tablets won’t accept full-charge rates through every dock).
Handheld PCs and compact gaming boxes can benefit the same way—monitor, controller dongle, storage, and wired network—without constantly replugging. eGPU setups are the “heavy” use case: if your host supports Thunderbolt eGPU well, a dock (or an eGPU enclosure with a built-in dock) can make a clean single-cable station. Budget for the real constraints, though: eGPU performance is bandwidth-limited versus an internal GPU, and you’ll often lose some display outputs or ports depending on how the enclosure routes lanes.
How to choose a dock that won’t disappoint later
Shopping for a dock is mostly about avoiding “it works, but not the way I expected.” Start by confirming what your host port really is: Thunderbolt 3/4, or USB4, and whether it supports video (and how many displays) at the resolutions and refresh rates you plan to run. Then check the dock’s display method—native DisplayPort/Thunderbolt is usually the safe bet, while DisplayLink can be fine for office work but adds software and can be a poor fit for color-critical or latency-sensitive tasks.
After that, match the dock to your bottleneck. If you care about fast external SSDs, look for full-speed Thunderbolt downstream (or clearly specified USB 10/20Gbps ports) and avoid docks that hide shared bandwidth behind vague “USB-C” labels. If you want a stable shared workstation, prioritize a powered dock, a reliable Ethernet controller, and enough front-access ports you’ll actually use. The hard part is cost: by the time you add quality cables and a dock that meets these specs, a cheaper hub is only “cheaper” if you’re okay giving up displays, speed, or consistency.