Why Threadripper, and what kind of build it requires
You buy Threadripper when you regularly hit limits that mainstream CPUs can’t solve: more CPU cores for heavy renders/compiles, lots of PCIe lanes for multiple GPUs or fast SSDs, and enough memory bandwidth to keep those cores fed. It’s not a “drop-in” upgrade, though. Threadripper builds are closer to small servers: larger E-ATX/SSI-EEB boards, stricter case clearance, higher sustained power draw, and a cooling plan that’s designed for long all-core loads, not short gaming bursts. Budget for a stronger PSU, quieter high-airflow fans, and more time on compatibility checks.
Picking the right Threadripper platform: TRX40 vs newer generations
The first hard rule is that Threadripper isn’t “mostly compatible” across generations: the CPU socket and chipset have to match. TRX40 boards use the sTRX4 socket and pair with 3rd-gen Threadripper (3000 series) and many 5000-series non-Pro chips with the right BIOS, on DDR4 and PCIe 4.0. It’s often the value pick on the used market, but you’re shopping older boards, older memory, and fewer modern I/O options.
Newer platforms split into sWRX8/WRX80 for Threadripper Pro 3000/5000 (DDR4, lots of lanes, stronger “workstation” feature sets), and sTR5 with TRX50/WRX90 for Threadripper 7000 (DDR5 and PCIe 5.0). The newer route costs more up front—board prices, DDR5 capacity, and sometimes cooler mounting hardware—but it’s the safer bet if you need long-term expandability and current-gen storage speeds.
Motherboard and case fit: lanes, slots, airflow, and clearances
The first time Threadripper surprises people is physical fit. Many boards are E-ATX or SSI-EEB, which can turn a “full tower” into a tight squeeze once you add front radiators, thick cable grommets, or drive cages. Before you buy, confirm the case explicitly supports the board form factor, and check CPU cooler height (air) or radiator thickness plus fan stack (liquid). Also look at where the 24-pin and dual EPS connectors land—some cases make clean routing hard without extensions.
Slot layout matters as much as lane count. A board can have plenty of PCIe lanes on paper, but a triple-slot GPU can cover adjacent x16 slots, and a second GPU can cook in stagnant air if there’s no gap. Treat airflow like a requirement: intake area, unobstructed front panel, and at least one exhaust path above the GPU plane. More fans is a cost, but rebuilding later costs more.
RAM decisions: capacity first, then speed and channel layout
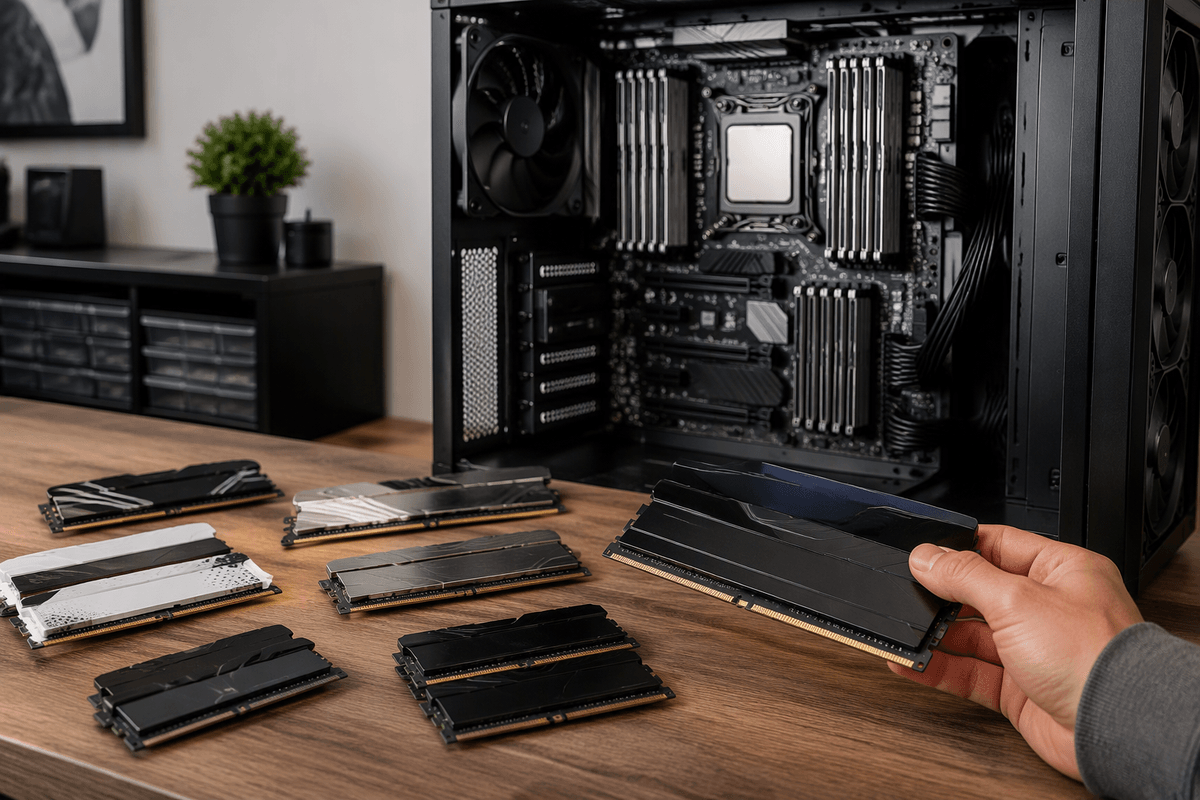
The most common Threadripper regret is buying fast RAM and then running out of it. Start with capacity based on your “worst day” workload: big scenes, large datasets, VMs, or heavy multitasking. It’s usually cheaper (and more stable) to buy the capacity you need up front than to mix kits later, especially at higher DIMM counts.
Then match the platform: TRX40/WRX80/WRX80-class systems are DDR4, while TRX50/WRX90 are DDR5, and you can’t cross those streams. Treat the motherboard QVL as guidance, not a guarantee, but do pay attention to rank/density notes and supported speeds at 4, 6, or 8 sticks. Populate channels evenly (don’t leave half the channels empty), and plan for the reality that “max speed” XMP/EXPO profiles often need tuning or a small speed drop when you fill every slot.
Cooling and power delivery: keeping a high-watt CPU stable
On a long compile or render, a Threadripper doesn’t “spike,” it sits at high package power for hours. That changes your cooling math. Use a cooler made for the large Threadripper heatspreader (not just “AM5 compatible”), and treat mounting pressure as part of stability: follow the bracket order and torque guidance so contact is even. Big dual-tower air coolers work well if the case has clear front-to-back airflow, but they can collide with tall RAM and sometimes force louder fan curves. A 360/420mm AIO can lower noise at a given temperature, yet it adds pump failure risk and needs radiator space that doesn’t block GPU intake.
Power delivery is just as real. Plan on a quality PSU with headroom for sustained CPU load plus your GPU(s), and make sure you can feed the board properly: most Threadripper boards expect two EPS CPU power connectors, and some want a third or auxiliary PCIe connector for slot power. Budget for a few strong case fans; VRM and memory temps often improve as much as CPU temps.
Storage and GPU planning: balancing PCIe lanes, speed, and heat
It’s easy to get excited about “all the lanes,” then accidentally build a layout that blocks slots or cooks drives. Start with your GPU plan and work outward: measure real slot thickness (2.5–4 slots is common) and check which x16 slots keep full electrical bandwidth when others are populated. If you need two GPUs, prioritize physical spacing and direct airflow over chasing perfect lane math, because a starved top card can lose performance long before you “run out” of PCIe.
For storage, treat M.2 placement as a thermal problem, not just a speed choice. Gen4/Gen5 NVMe can throttle under sustained writes, especially when tucked between GPUs or under chipset shrouds. Use the board’s heatsinks, add case airflow over the M.2 area, and consider U.2 or PCIe add-in cards for high-capacity scratch if you’re doing long ingest/export cycles. More fast drives also means more heat and a higher baseline fan curve.
The build itself: socket install, cabling, first boot checklist
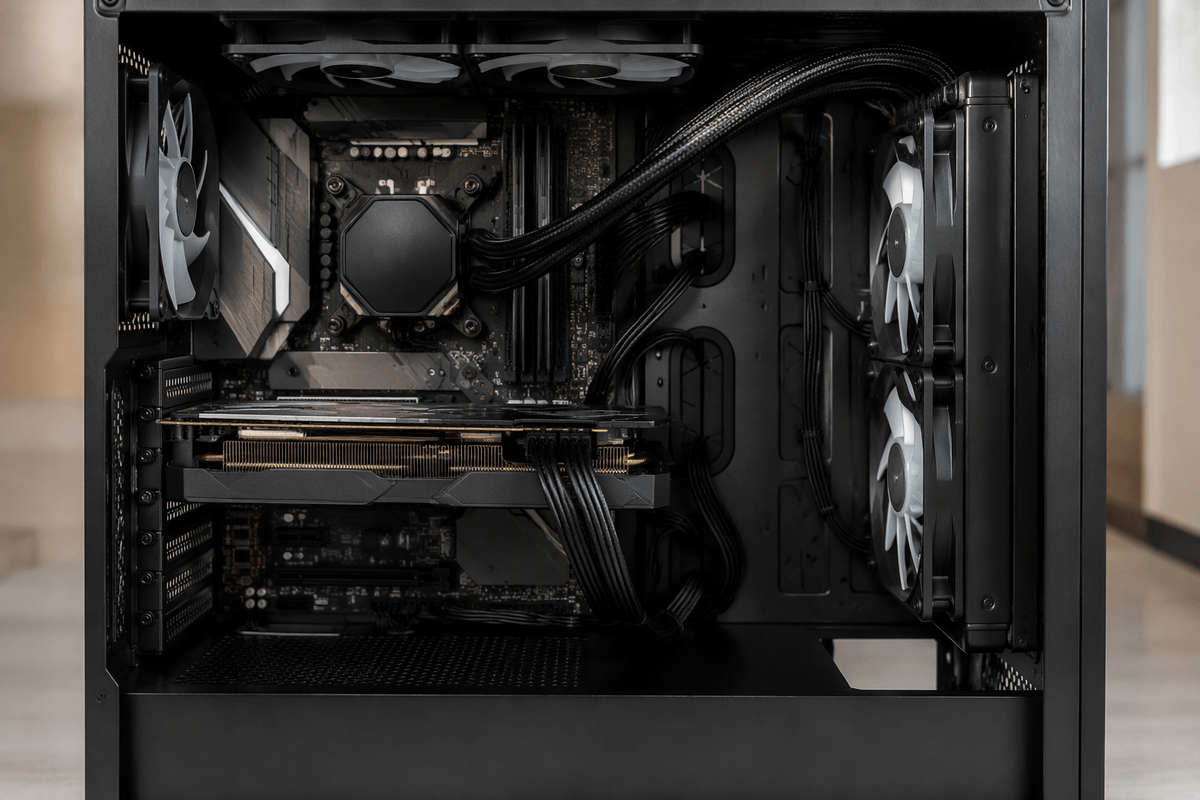
The moment you open the Threadripper socket, slow down. The CPU goes in on the carrier/rail system (platform-dependent), and the retention frame typically tightens in a numbered sequence—follow it, use the included torque tool if provided, and don’t “snug it up” by feel. Most expensive mistakes here are simple: touching the socket pins, mis-seating the carrier, or mounting a cooler that doesn’t fully cover the large heatspreader. Do a dry fit for cooler clearance before you paste, and confirm the backplate/bracket is the Threadripper-specific one.
Cabling is where first boots fail. Connect the 24‑pin plus both EPS CPU power leads (and any auxiliary PCIe/slot power the board calls for), then front-panel headers, CPU_FAN/AIO_PUMP, and all radiator/case fans. For the first POST, run one GPU, only your primary NVMe, and the minimum RAM population the manual specifies per channel set. First boot checklist: confirm fans spin, watch CPU temp in BIOS, verify all RAM is detected in the intended channel layout, update BIOS if needed, then enable XMP/EXPO only after a stable baseline boot.
After it boots: BIOS tweaks, drivers, and stability testing
Once you’re in BIOS, set a known-good baseline before chasing performance: load optimized defaults, confirm CPU temps and fan control, verify every memory channel is populated and detected, and update BIOS if you’re more than a couple releases behind (Threadripper memory training and USB quirks often improve). After a clean OS install, install chipset drivers first, then GPU, then storage/NIC drivers as needed.
Turn on XMP/EXPO last, and be willing to drop one memory step if you’re running 8 DIMMs. Validate with a long all-core load plus memory test (several hours), then a sustained disk write to catch NVMe throttling. The cost is time, but it’s cheaper than debugging random WHEA errors mid-project.